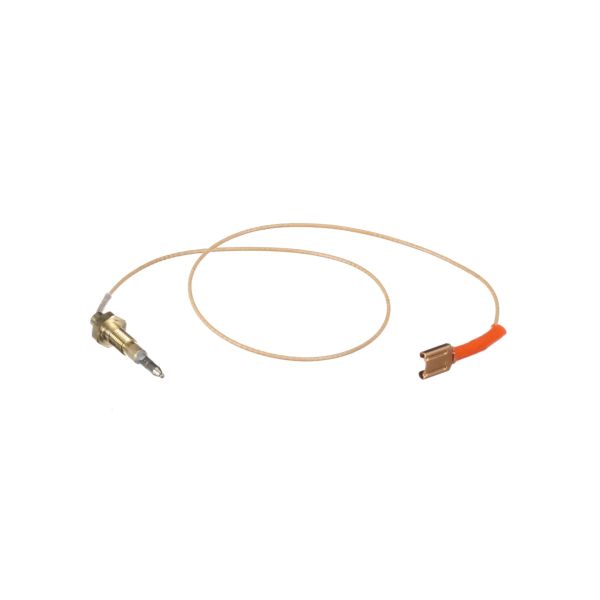
Bertazzoni 508025 Range Thermocouple 300mm
$23.37
In stock
Available Quantity:
23
SKU
508025
Product Description
THERMOCOUPLE MM300
Manufacturer