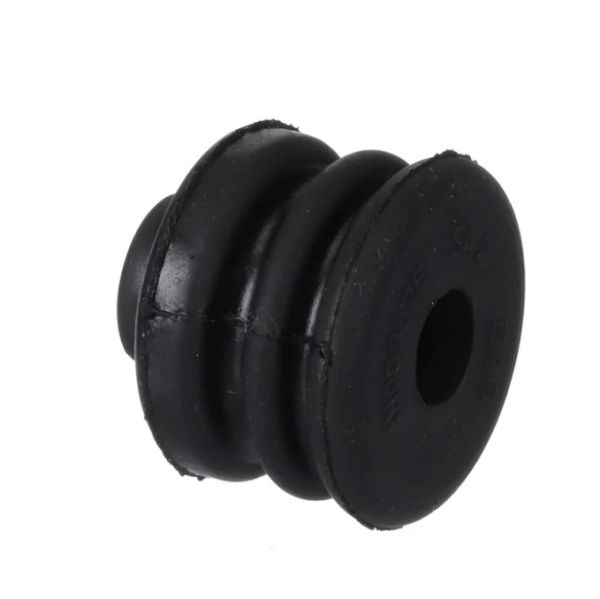
LG 4H00982E Air Conditioner Compressor Damper
$16.08
In stock
Available Quantity:
1
SKU
4H00982E
Product Description
The LG 4H00982E Air Conditioner Compressor Damper is used to minimize the compressor's vibrations against the mounting frame inside an air conditioning unit. The damper is placed at all mounting points of the compressor in such a way that it sits between the compressor part and the supporting structure. When running it absorbs the compressor's movement and limits the transfer of vibration directly to the cabinet. The damper maintains a cushioned interface and positions the compressor while isolating mechanical shock from motor operation.
Manufacturer
