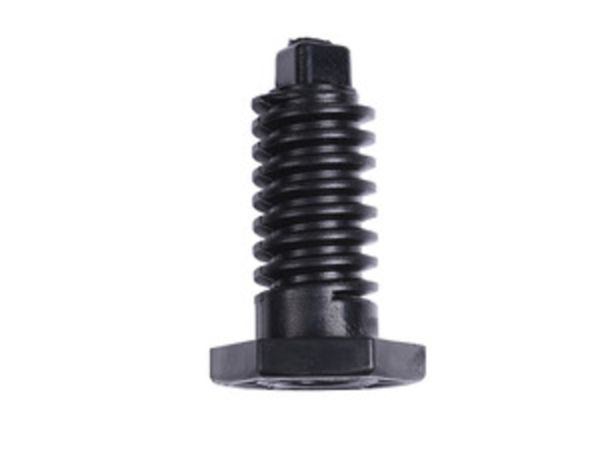
LG 4778W1N001B Range Foot Assembly
$12.94
In stock
Available Quantity:
108
SKU
4778W1N001B
Product Description
FOOT ASSY
Manufacturer
