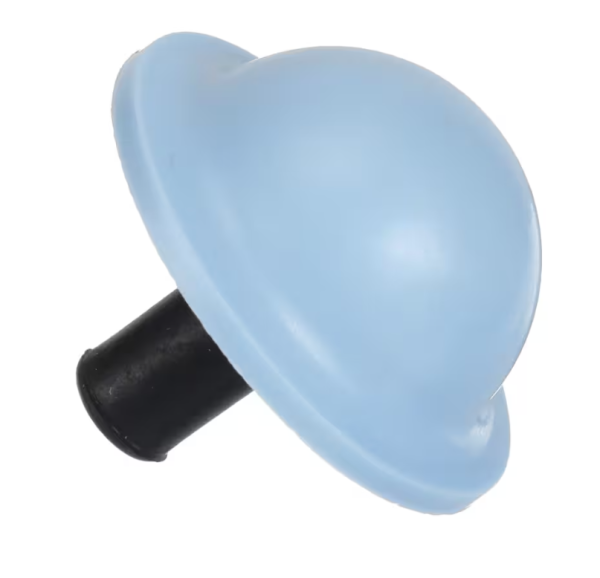
LG 4769ER4001B Washer Float Assembly
$19.68
In stock
Available Quantity:
128
SKU
4769ER4001B
Product Description
The LG 4769ER4001B Washer-Float Assembly controls the water that enters the tub to avoid overfilling. This assembly is used to measure the water in the tub and to turn on the control system to stop or allow water flow. When the water enters the washer the float lifts and turns off the switch that controls the water inflow once the required level is attained. This mechanism helps to avoid leakage, shield internal parts from water, and improve performance.
Manufacturer

✓ This Product Replaces:
4769ER4001A, ADS73029001