LG 4400EL2001F Dryer Drum Belt
Special Price
$7.90
Regular Price
$21.90
In stock
Available Quantity:
261
SKU
4400EL2001F
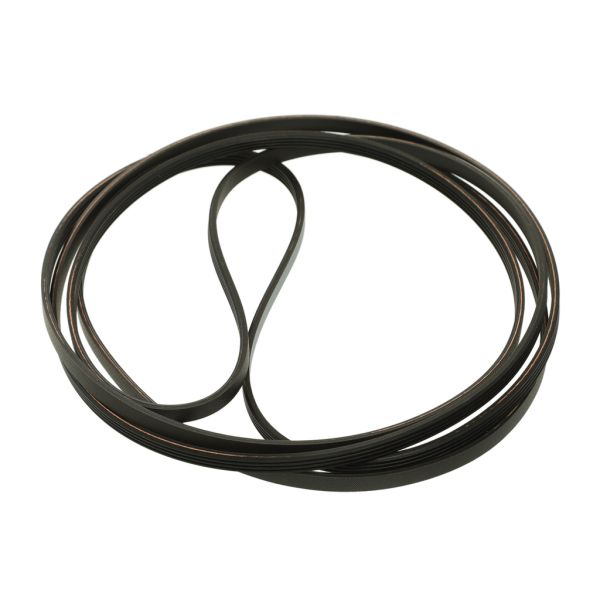
Product Description
LG 4400EL2001F Dryer Poly V Drum Belt used to transmit power from motor to the drum to ensure that the drum move smoothly and evenly. It is made of rubber material with multiple grooves to increase friction and reduce slippage while in operation. When the motor is on, the belt rotates the drum at the right speed to ensure equal distribution of heat to the clothes. This makes it durable and does not require constant replacement as is the case with other products of low quality.
Manufacturer

✓ This Product Replaces:
4400EL2001C, 4400EL2001E