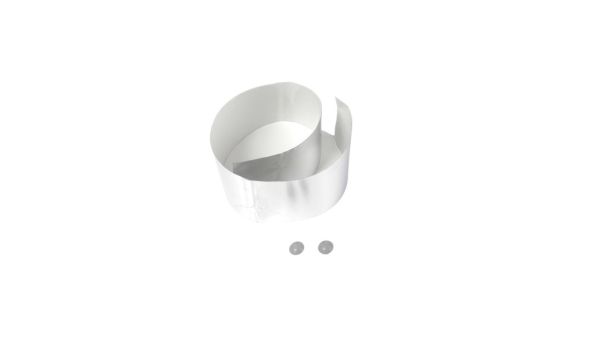
Whirlpool 4396277 Dishwasher Moisture Barrier Kit
Special Price
$19.74
Regular Price
$22.65
Out of stock
Available Quantity:
0
SKU
4396277
Product Description
BARRIER
Manufacturer
