The store will not work correctly in the case when cookies are disabled.
We collect user information to provide a better user experience and protect the security of our website. By continuing to use our website, you acknowledge the use of cookies.
Step 1: The power cord should be disconnected from the wall outlet and any water hoses linked to the washer should be detached.
Step 2: The screws or clips that hold the top panel of the washer securely should be taken out. Next, the top panel should be carefully lifted and placed aside.
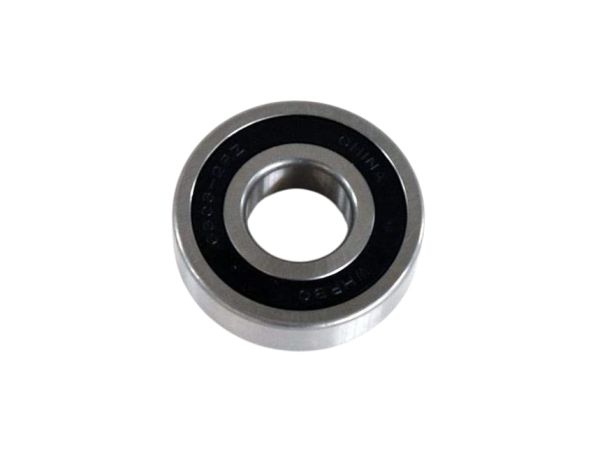
Step 3: The rear tub ball bearing should be identified. It should be positioned at the back of the washer drum.
Step 4: A socket wrench should be employed to untighten the bolts surrounding the bearing and they should be taken out.
Step 5: The bearing should be gently extracted and the new one should be installed. The new bearing should be ensured correctly fitted and the bolts should be fastened firmly.
Step 6: The top panel should be reattached, then the power cord and the water hoses should be reconnected.
Step 7: The washer should be activated to verify its proper operation. If it runs smoothly, the task has been completed!
Please remember, these instructions are served as general guidance and should always be utilized alongside the manufacturer's manual, if accessible.