Bosch 415096 Range Screw
$13.86
Out of stock
Available Quantity:
0
SKU
415096
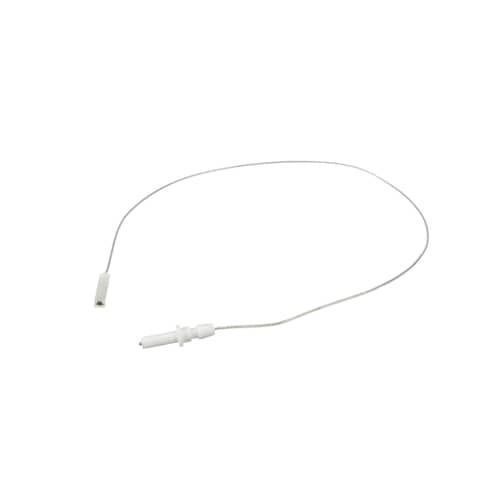
Product Description
SPARK PLUG 350MM
Manufacturer