Bertazzoni 410753 Range Glass Support
$31.17
Out of stock
Available Quantity:
0
SKU
410753
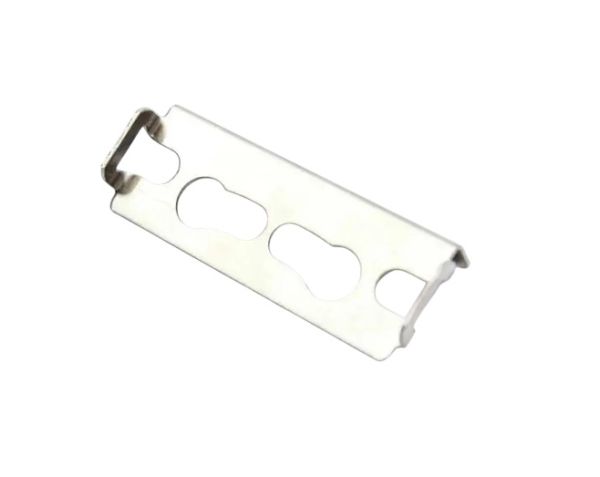
Product Description
OVEN GLASS SUPPORT
Manufacturer

✓ This Product Replaces:
410563