LG 4036ER4001B Washing Machine Tub Gasket
$13.98
In stock
Available Quantity:
7
SKU
4036ER4001B
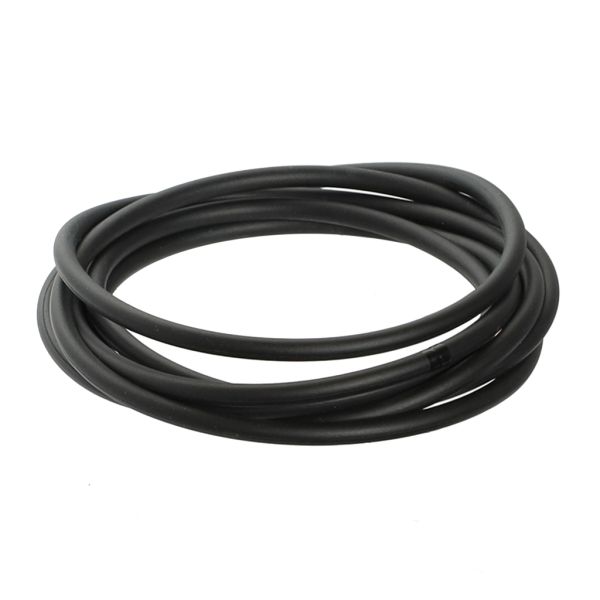
Product Description
The LG 4036ER4001B Washing Machine Tub-Gasket Assembly is designed to fit tightly between the washer tub and the door to avoid any leakage of water when the washer is in operation. It functions by sealing all the gaps to prevents the infiltration of moisture while enabling free movement of the door. This characteristic ensures that it can easily adapt to the washing process while at the same time not easily giving in to water damage.
Manufacturer
