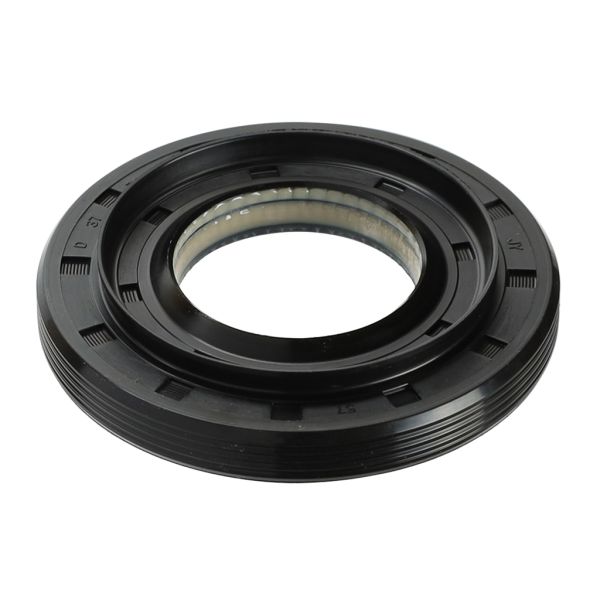
LG 4036ER2004A Washer Rear Tub Spin Gasket Seal
Special Price
$7.50
Regular Price
$22.89
In stock
Available Quantity:
664
SKU
4036ER2004A
Product Description
The LG 4036ER2004A Washer Rear Tub Spin Gasket Seal uses its sealing abilities to prevent water leaks around the drum shaft. The component manages to stop water from leaking out yet it lets the drum spin efficiently. The component features quality construction materials that enable it to handle rapid drum rotations as well as persistent water exposure. The seal provides proper performance protection to the washer while minimizing damage to its internal components.
Manufacturer
