Step 1: The washer should be disconnected from the electrical outlet and the water supply that feeds into it should be turned off.
Step 2: The access panel located at the lower section of the washer should be found. The screws should be taken out to open this panel.
Step 3: The water hoses still attached to the tub seal should be removed. If needed, a wrench should be employed to loosen the nuts.
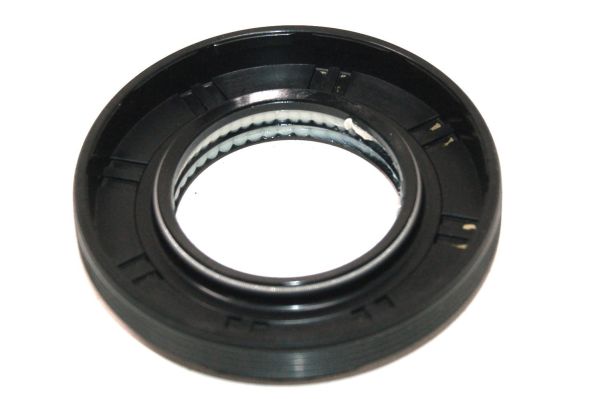
Step 4: The washer's top should be elevated to reach the old tub seal. The old seal should be extracted by unscrewing it from the drum.
Step 5: The new tub seal should be positioned in the same location as the previous one. It should be firmly secured using screws.
Step 6: The water hoses should be reconnected and a wrench or pliers should be used to tighten the screws.
Step 7: The access panel of the washer should be closed and the screws should be inserted to fasten it.
Step 8: The water supply should be reopened and the washer should be plugged back into the electrical outlet.
Your LG washer is now prepared for operation with a new tub seal. Should any additional leaking problems be encountered, the installation of the seal should be verified. An incorrectly installed seal can lead to leaks in the washer. It should be confirmed that the seals are secured tightly for optimal performance.
Please note that these instructions serve as general guidance and should always be utilized alongside the manufacturer's manual, if one is available.