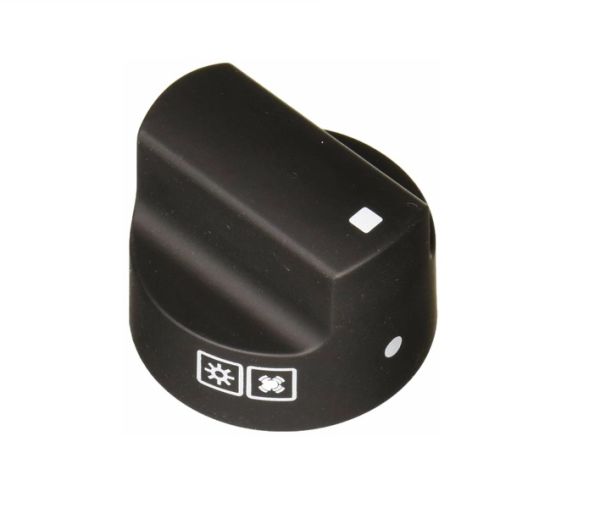
Bertazzoni 4010123 Range Electric Commutator Knob Black
$19.08
Out of stock
Available Quantity:
0
SKU
4010123
Product Description
ELECTRIC COMMUTATOR KNOB B
Manufacturer