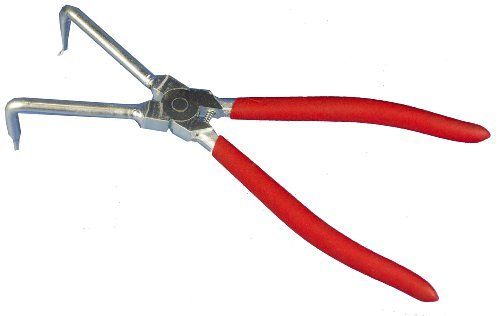
LG 383EER4004A Washer Spring Removal Tool
Special Price
$79.15
Regular Price
$95.07
In stock
Available Quantity:
97
SKU
383EER4004A
Product Description
The LG 383EER4004A Spring-Removal Tool is specifically used to remove and install the outer tub spring clamp. This tool fits around the clamp and enables the user to easily twist the clamp while applying pressure in the process of removal or installation. This tool is time-saving, effort-saving, and stress-free. The construction of the product is robust and the design of the product is easy to use making it a durable product for the maintenance of the washer.
Manufacturer
