
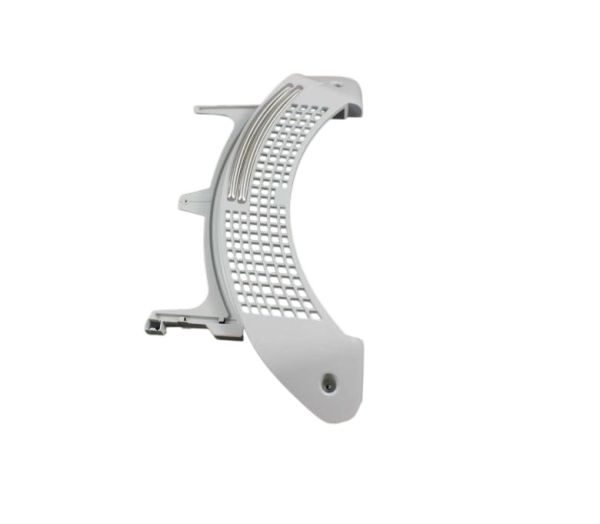
LG 383EEL9001N Dryer Lint Screen Housing & Moisture Sensor

Special Price $29.49 Regular Price $44.95
In stock
Available Quantity:   34
SKU
383EEL9001N

Product Description

The LG 383EEL9001N Dryer Lint Screen Housing & Moisture Sensor is a replacement that is used to trap lint and to measure the amount of moisture during the drying process. It mainly functions by catching the lint in clothes and sensing the amount of moisture left to make the dryer change its time. The mechanism has an interchangeable lint trap built with a moisture sensor that reads moisture as the air moves through it. It is fitted at the front end of the dryer in the slot area in the drum, and slides into position.
Dryer Parts, Control Boards,
9.15"X18.6"X2.25"
Manufacturer
https://www.hnkparts.com/media/catalog/product/3/8/383eel9001n-81875.jpg

This Part Fits the Following Models (4)

Write Your Own Review
You're reviewing:LG 383EEL9001N Dryer Lint Screen Housing & Moisture Sensor
Your Rating
Customer Questions
What maintenance is required for the LG 383EEL9001N Lint Screen Housing And Moisture Sensor?

Regularly clean lint buildup from the lint screen housing to maintain proper airflow and drying efficiency. Inspect the moisture sensor bars for residue and gently wipe them with a soft cloth and mild cleaner. Keeping these components clean helps prevent inaccurate drying cycles and reduces pressure on the dryer.

What are common issues with the LG 383EEL9001N Lint Screen Housing And Moisture Sensor?

  • Lint accumulation causing restricted dryer airflow and longer drying times.
  • Moisture sensor misreading due to residue buildup.
  • Cracked or warped housing affecting lint screen fit.
  • Sensor bars not detecting moisture accurately.
  • Loose or damaged connections leading to inconsistent operation.

Installation Steps

Step1: Unplug dryer and shut off gas supply if applicable to prevent shock or fire risk.

Step2: Remove lint screen top panel and locate sensor housing assembly.

Step3: Disconnect moisture sensor wiring harness carefully.

Step4: Unscrew and remove old lint screen housing.

Step5: Install new lint screen housing and moisture sensor, reconnect wires securely.

Step6: Reassemble panels restore power and test drying cycle.

Step7: Ensure all connections are tight and run a short cycle while monitoring for proper moisture sensing.
