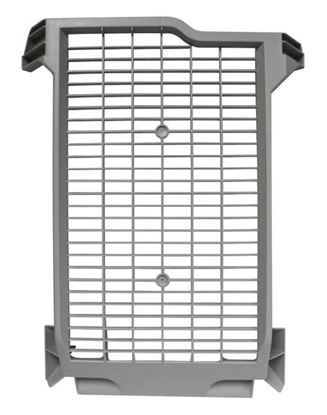
The LG 3750EL0001C Dryer Rack Assembly is fixed inside the drum and does not rotate while it blows hot air on the items. It reduces stretching, shrinking, or any form of damage that may be caused by movement of the delicate materials. The flow of air is efficient in drying the fabric faster and does not affect the quality of the fabric. This component prolongs the life of garments and enhances the drying process which makes the laundry work easier.
Step 1: The dryer should be disconnected from the power source and the lint filter should be taken out.
Step 2: A screwdriver should be employed to detach the screws fastening the top panel to the dryer casing. Next, the top panel should be lifted and the 3750EL0001C Drying Rack should be found.
Step 3: The existing Drying Rack should be gently taken out and a vacuum cleaner should be utilized to tidy up the area.
Step 4: The new 3750EL0001C Drying Rack should be placed in position and it should be verified that it is firmly attached.
Step 5: The top panel should be reattached and secured using the screws.
Step 6: The dryer should be reconnected and the 3750EL0001C Drying Rack should be checked to confirm it is functioning properly.
Step 7: Your newly installed 3750EL0001C Drying Rack should be reveled in!
Adhering to these steps diligently will enable the successful replacement of the 3750EL0001C Drying Rack and the restoration of your LG dryer to optimal performance.
Please remember, these instructions serve as general guidance and should always be referenced alongside the manufacturer's manual, if accessible.