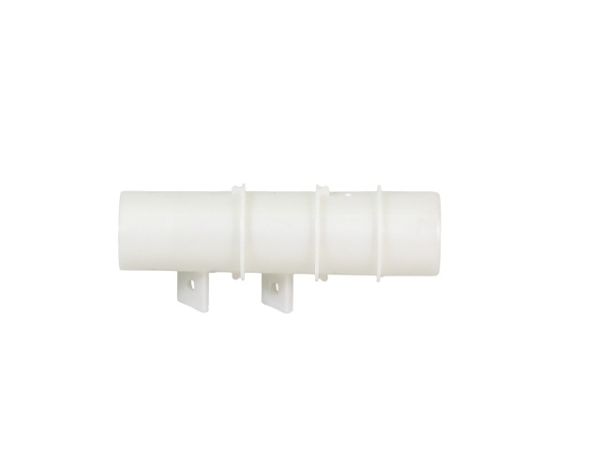
LG 3504ER3002A Washer Pressure Switch Air Chamber
$13.14
Out of stock
Available Quantity:
0
SKU
3504ER3002A
Product Description
CHAMBER-AIR
Manufacturer
