
Special Price
$59.82
Regular Price
$68.95
In stock
Available Quantity:
18
SKU
318261229
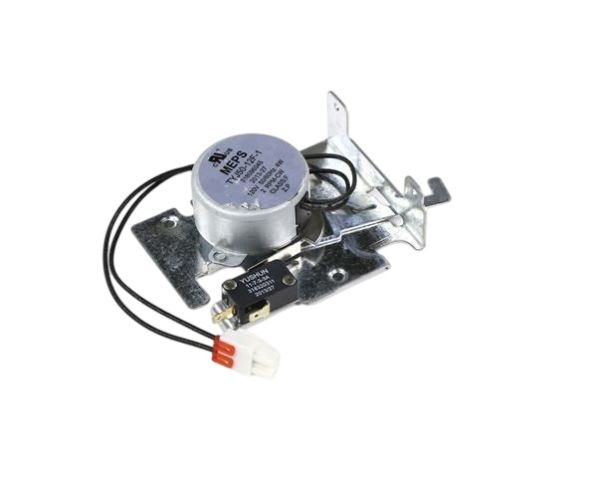
The Frigidaire 318261229 Wall Oven Door Latch Motor Assembly is a new electromechanical part that will regulate the process of the doors of the oven locking and unlocking during self-cleaning and some cooking programs. Its key application is to open the latch mechanism on the basis of the feedback provided by the control board on the oven. The motor assembly is fitted inside the front side of the appliance where it connects to the latch linkage and the electrical. In the system, it supports securing the door closure and safety interlocks and assists with reliability when using.
Manufacturer

✓ This Product Replaces:
318261211, 318261215, 318261221
This Part Fits the Following Models (468)
Frigidaire CGEW3065KBA Oven
Frigidaire CGEB30S9FB3 Electric Oven
Frigidaire CGEB30S9FB5 Oven
Frigidaire CGEB30S9FS3 Electric Oven
Frigidaire CGEB30S9FS4 Oven
Frigidaire FEB27T5DBC Electric Oven
Frigidaire FEB27T5DBE Electric Oven
Frigidaire FEB27T5DBF Oven
Frigidaire FEB27T5DCC Electric Oven
Frigidaire FEB27T5DCD Electric Oven
Frigidaire FEB30T5DBC Electric Oven
Frigidaire FEB30T5DBD Electric Oven
Frigidaire FEB30T5DBF Electric Oven
Frigidaire FEB30T5DBG Oven
Frigidaire FEB30T5DCC Electric Oven
Showing 1-15
of 468
| Manufacturer Name: FRIGIDAIRE Product Number: 318261229 OEM Part Number: 318261229 Product Description: Latch Motor Assy |
Choose the best Home Appliance parts and supplies from HnKParts!
Same Day Shipping
Best Quality And Best Price
Wide Range of Inventory
Best Customer Service
Have More Questions or Need Help to Place The Order?
Reach us at (866)723-0907 or [email protected]
Write Your Own Review
Customer Questions
Installation Steps
Step1: Turn off power to the range from the breaker for safety.
Step2: Open the back panel or top cover to access the latch motor.
Step3: Disconnect wiring harness and note connection positions.
Step4: Remove screws holding the faulty latch motor assembly.
Step5: Install the new latch motor and secure it firmly in place.
Step6: Reconnect wires to their correct terminals.
Step7: Reassemble panels, restore power, and test door locking operates.
