
Special Price
$33.12
Regular Price
$35.26
Out of stock
Available Quantity:
0
SKU
316137003
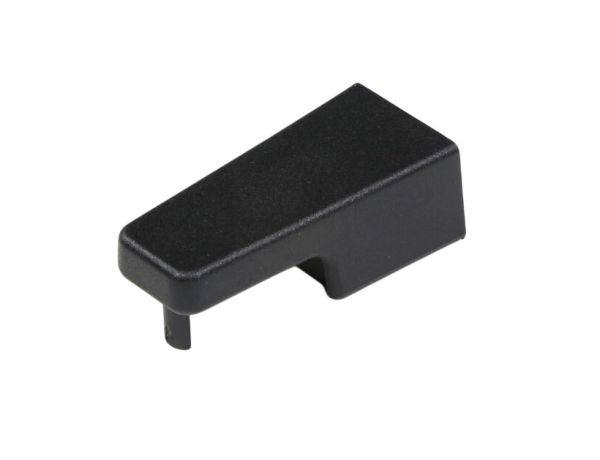
The Frigidaire 316137003 Range Door Handle End Cap is a replacement top portion of the cooker front knob. Its primary function is to cover and to shield the exposed end of the handle and maintain a clean finished appearance. The cap is a molded cover that is fitted on the exposed end of the handle. It is installed by snapping or sliding on the handle. The end cap is a solution to keeping the head on, protects the connection of the handle, and allows it to be used in regular usage.
Manufacturer

✓ This Product Replaces:
3016755, 123T123P01, 3016685, 3016813, 3131205, 3131206
This Part Fits the Following Models (809)
Frigidaire FGF319KBA Range
Frigidaire FGF319KBB Gas Range
Frigidaire FGF303BWA Freestanding Gas Range
Frigidaire FGF303CWB Freestanding Gas Range
Frigidaire FGF303CWC Freestanding Gas Range
Frigidaire FGF303CWD Freestanding Gas Range
Frigidaire FGF303CWF Freestanding Gas Range
Frigidaire FGF303CWG Range
Frigidaire FGF303CWH Gas Range
Frigidaire FFF318AWA Freestanding Electric Range
Frigidaire FFEF3003RBA Range
Frigidaire FFEF3003RBB Electric Range
Frigidaire FFEF3005MBA Range
Frigidaire FFEF3005MBB Range
Frigidaire FFEF3005MBC Range
Showing 1-15
of 809
| Manufacturer Name: FRIGIDAIRE Product Number: 316137003 OEM Part Number: 316137003 Product Description: Range Handle End Cap - Blk |
Choose the best Home Appliance parts and supplies from HnKParts!
Same Day Shipping
Best Quality And Best Price
Wide Range of Inventory
Best Customer Service
Have More Questions or Need Help to Place The Order?
Reach us at (866)723-0907 or [email protected]
Write Your Own Review
Customer Questions
Installation Steps
Step1: Turn off power to the range and allow it to cool completely.
Step2: Open the oven door and locate the handle mounting screws.
Step3: Remove screws securing the handle and detach it carefully.
Step4: Slide off the damaged end cap from the handle.
Step5: Align and attach the new end cap securely.
Step6: Reinstall the handle and tighten screws firmly.
Step7: Restore power and test for stability.
