Step 1: The power cord should be disconnected from the electrical outlet and the water supply to the washing machine should be shut off. The machine should be slightly tilted backward and a towel should be positioned beneath the drain hose to collect any water that might escape.
Step 2: The existing pump casing and housing should be identified, then any screws that are holding it securely in position should be removed. If the pump casing and housing are adhered, a pair of pliers should be utilized to assist in detaching it.
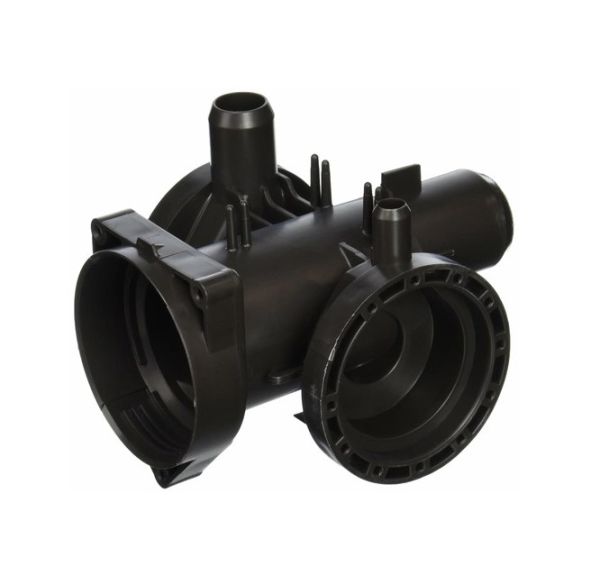
Step 3: The old pump casing and housing should be taken and examined against the new one to verify that it matches in size, model, and shape. After compatibility is confirmed, the following step should be moved on to.
Step 4: The new pump casing and housing should be inserted into position, ensuring that the mounting screws are aligned correctly. It should be fastened in place using the screws that were previously removed.
Step 5: The drain hose should be reconnected and the power cord should be plugged back into the electrical outlet. The water supply should be reactivated and the washer should be tested to confirm that the new pump casing and housing has been fitted correctly.
By following these steps, the 3108ER1001A LG washer pump casing and housing will be effectively replaced. Caution should always be exercised during any DIY repairs and it should ensure that the user manual is read beforehand! Please note that these instructions are to be utilized as general guidance and should always be utilized in conjunction with the manufacturer's manual, if one is available.