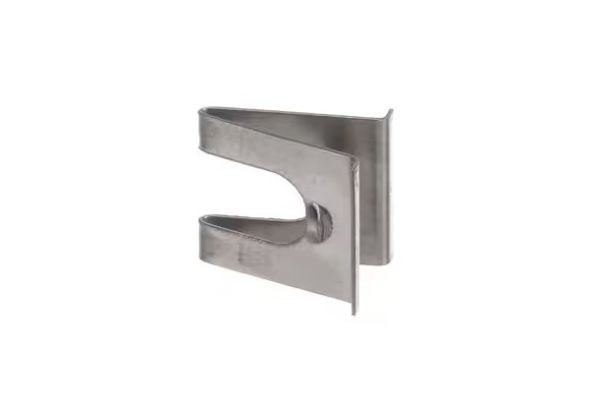
Bertazzoni 306024 Range Spring For Spark Plug
Special Price
$2.08
Regular Price
$5.95
Out of stock
Available Quantity:
0
SKU
306024
Product Description
SPRING FOR SPARK PLUG
Manufacturer