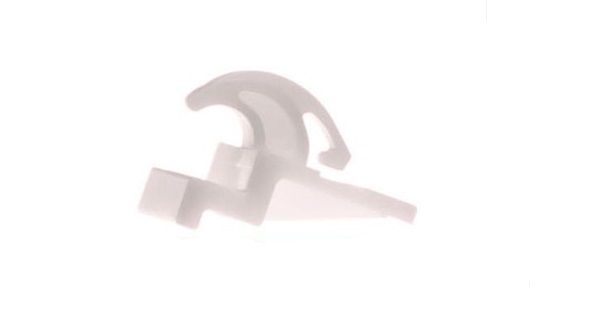
Frigidaire 3051162 Range Front Drawer Glide
Special Price
$1.92
Regular Price
$5.99
In stock
Available Quantity:
471
SKU
3051162
Product Description
FRONT DRAWER GLIDE
Manufacturer

✓ This Product Replaces:
08067766, 3012698, 3051361, 3131687