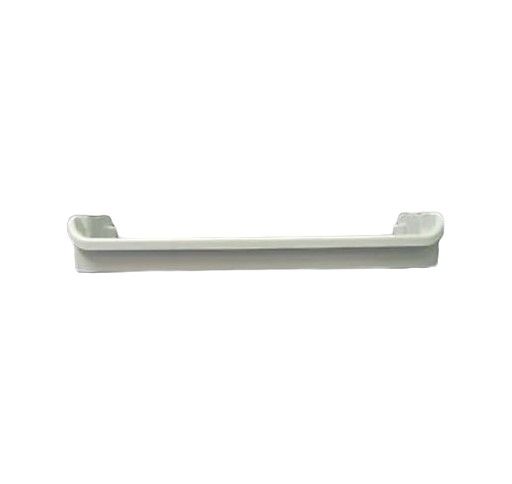
Frigidaire 240535001 Refrigerator Door Rack
Special Price
$32.32
Regular Price
$41.47
In stock
Available Quantity:
41
SKU
240535001
Product Description
DOOR RACK
Manufacturer