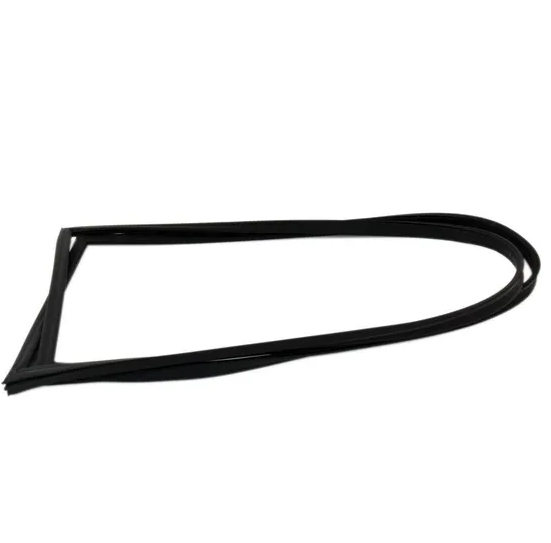
Whirlpool 2306996 Refrigerator Gasket FIP
Special Price
$149.30
Regular Price
$236.81
In stock
Available Quantity:
4
SKU
2306996
Product Description
The Whirlpool 2306996 Gasket FIP forms a tight seal around the refrigerator door, and air leakage is prevented maintaining the internal temperature. It is designed to fit snugly and can be fastened along the door frame with ease to prevent any misalignment.
Manufacturer
