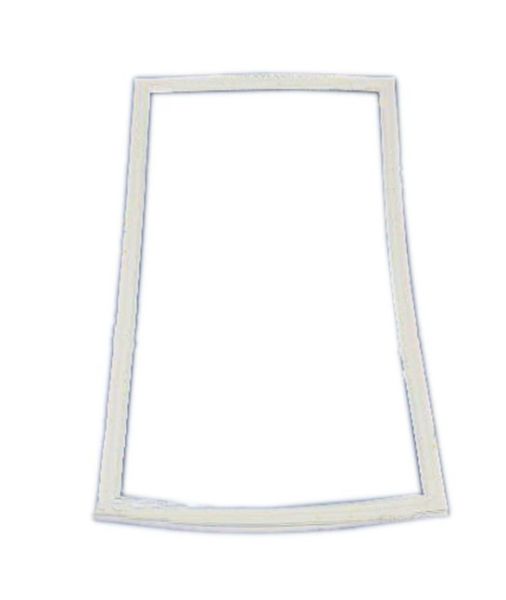
Special Price
$184.05
Regular Price
$236.59
In stock
Available Quantity:
5
SKU
2302710
Whirlpool 2302710 Door Gasket FIP is used to ensure that the door of the refrigerator has a tight fit to minimize the escape of cold air from the chamber. This gasket also minimizes energy consumption, allowing the appliance to operate optimally and preserve food for longer durations. It create a tight and secure fit that does not allow air to infiltrate the room and puts less pressure on the cooling system. In the long run, it will lead to reduced energy consumption and enhanced efficiency of the refrigerator. A better door gasket also assists in avoiding formation of frost and maintaining the right temperature within the appliance.
Manufacturer
This Part Fits the Following Models (62)
Thermador KBULT3661A02 Refrigerator
Jenn-Air JB36NXFXLW05 Bottom-Mount Refrigerator
Jenn-Air JB36NXFXRW05 Bottom-Mount Refrigerator
Jenn-Air JB36PPFXLB00 Bottom-Mount Refrigerator
Jenn-Air JB36PPFXRB00 Bottom-Mount Refrigerator
Jenn-Air JB36SEFXLB00 Bottom-Mount Refrigerator
Jenn-Air JB36SEFXRB00 Bottom-Mount Refrigerator
Jenn-Air JB36CXFXLB00 Bottom-Mount Refrigerator
Jenn-Air JB36CXFXRB00 Bottom-Mount Refrigerator
KitchenAid KBRO36FMX00 Refrigerator
KitchenAid KBRO36FMX01 Refrigerator
KitchenAid KBRO36FMX02 Refrigerator
KitchenAid KBRO36FTX00 Refrigerator
KitchenAid KBRO36FTX02 Refrigerator
KitchenAid KBRO36FTX03 Refrigerator
Showing 1-15
of 62
| Manufacturer Name: WHIRLPOOL Product Number: 2302710 OEM Part Number: 2302710 Product Description: Gasket-Fip |
Choose the best Home Appliance parts and supplies from HnKParts!
Same Day Shipping
Best Quality And Best Price
Wide Range of Inventory
Best Customer Service
Have More Questions or Need Help to Place The Order?
Reach us at (866)723-0907 or [email protected]
Write Your Own Review
Customer Questions
Installation Steps
Step1: Unplug the refrigerator to ensure safety before starting.
Step2: Open the door and carefully remove the old gasket by pulling it from the channel.
Step3: Align the new gasket evenly around the door edges.
Step4: Press firmly into the channel to secure it completely.
Step5: Close the door and check for a tight, even seal.
