The store will not work correctly in the case when cookies are disabled.
We collect user information to provide a better user experience and protect the security of our website. By continuing to use our website, you acknowledge the use of cookies.
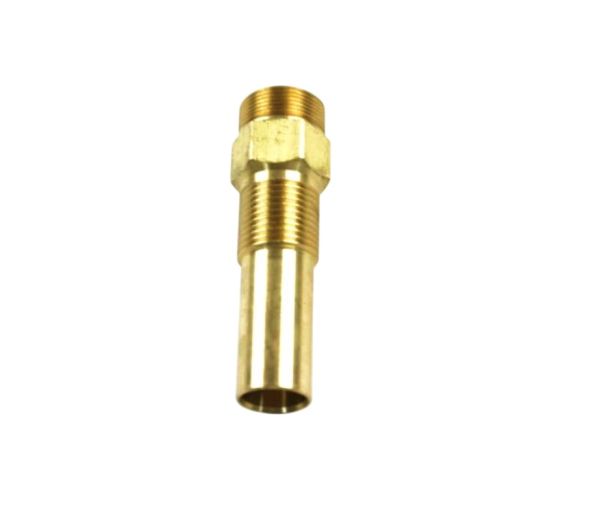
The Fisher & Paykel 210913P Range Venturi W/Chamfer regulates gas-air mixing within the burner assembly by shaping and accelerating airflow into the combustion zone for stable flame formation. It is installed in the burner structure beneath the cooktop surface interfacing with the gas injector and air intake channel through precision-fitted seating. Designed with a chamfered profile, it enhances flow efficiency and supports consistent fuel-air ratio control. It maintains controlled combustion conduct, flame stability, and efficient heat generation across ignition, simmering, and high-heat cooking operation cycles.
Step 1: The power from the appliance should be disconnected. It should ensure that all power has been disconnected from the appliance before moving forward.
Step 2: The front panel should be taken off. Any screws, rivets, or clips that hold the front panel to the appliance should be identified and detached for removal.
Step 3: The venturi should be disconnected. The adjustable wrench should be utilized to loosen the nuts fastening the venturi to the appliance. Once they are loose, the venturi should be gently extracted from the appliance.
Step 4: The new venturi should be positioned. The new venturi should be inserted into the appliance, making sure the wires and connections align properly. The venturi should be fastened with the nuts using the adjustable wrench.
Step 5: The front panel should be reattached. The panel should be secured back onto the appliance by reinserting all screws, rivets, or clips.
Step 6: Power to the appliance should be reconnected. It should be confirmed that power is fully reestablished and that the appliance operates correctly.
Please remember, these instructions serve as general guidance and should always be utilized alongside the manufacturer's manual, if accessible.