The store will not work correctly in the case when cookies are disabled.
We collect user information to provide a better user experience and protect the security of our website. By continuing to use our website, you acknowledge the use of cookies.
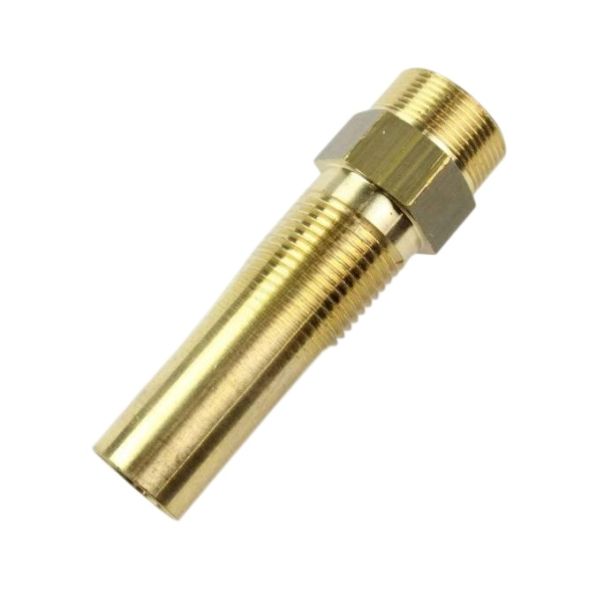
The Fisher & Paykel 210891 Range Venturi operates by regulating and directing the mixture of gas and air towards the burner assembly during cooking operations. Positioned within the burner system, the venturi channel controls airflow intake as gas passes through the assembly, creating the proper mixture required for burner ignition and flame distribution. This part is installed between the gas supply section and the burner head using designated connection points that align with the cooktop burner structure. It maintains balanced gas-to-air flow, supports flame performance, and ensures burner operation throughout cooking use.
Step 1: The power cord should be disconnected from the electrical outlet. This action will avert any potential shocks or harm to your appliance.
Step 2: A Philips head screwdriver should be utilized to take out all screws surrounding the venturi. After removal, any debris should be cleared from the vicinity.
Step 3: The old venturi should be detached from the unit using the needle nose pliers.
Step 4: A vacuum cleaner should be utilized to tidy up the venturi area, ensuring no debris remains.
Step 5: The new venturi should be positioned and fastened with the screws. Confirmation should be made that the venturi is securely installed before proceeding to the next step.
Step 6: The power cord should be reconnected to the electrical outlet.
Step 7: The unit should be activated and verification should be made that the venturi operates correctly.
Your Fisher & Paykel 210891 Venturi has now been replaced!
Please remember, these instructions serve as general guidance and should always be utilized alongside the manufacturer's manual, if one is available.