Speed Queen 210202 Washer Clip Spring
$7.10
In stock
Available Quantity:
47
SKU
210202
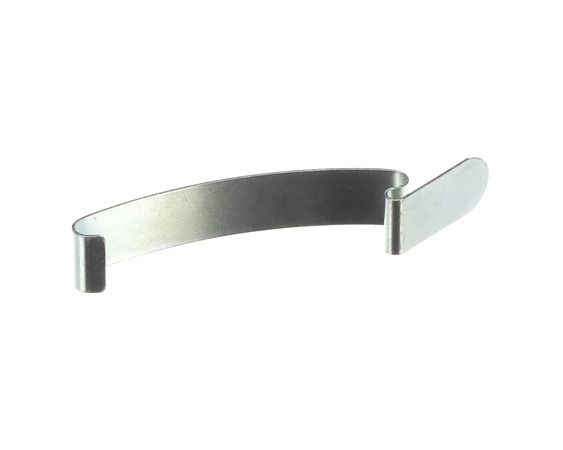
Product Description
CLIP,SPRING
Manufacturer
