Step 1: The washing machine should be disconnected from the electrical outlet. The power cord should be detached from the outlet prior to commencing any repairs.
Step 2: The screws should be taken out from the back panel and the panel should be detached. Multiple screws should be situated around the rear of the washer.
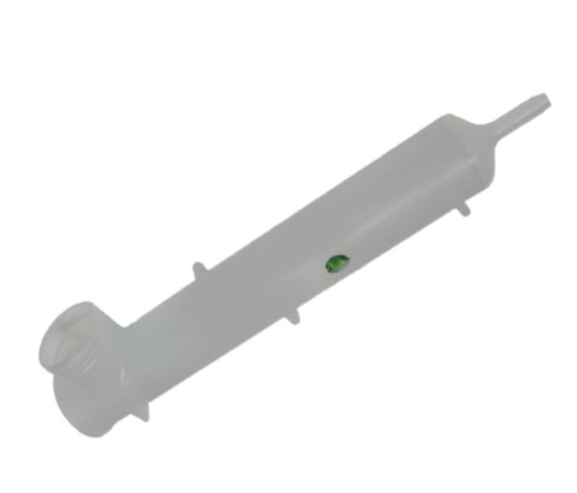
Step 3: The pressure bulb assembly should be identified. It will be located on the right side of the tub. The pressure bulb assembly is made up of a hose and a rubber bladder.
Step 4: The hose should be unfastened from the pressure bulb assembly. Pliers or a wrench should be employed to loosen the fitting if needed.
Step 5: The old pressure bulb assembly should be extracted by unscrewing the two screws that secure it in position.
Step 6: The new pressure bulb assembly should be positioned by sliding it into the same spot from which the previous one was taken out.
Step 7: The hose should be reattached to the pressure bulb assembly. It should be verified that the connection is tight.
Step 8: The back panel should be reinstalled, the screws should be inserted, and the washer should be reconnected to the power supply.
Step 9: The washer should be operated to ensure that the pressure bulb assembly is working properly.
Well done! The Speed Queen 205241 Assy Pressure Bulb has been successfully replaced.
Please note that these instructions are intended for general assistance and should always be referenced alongside the manufacturer's manual, if available.