
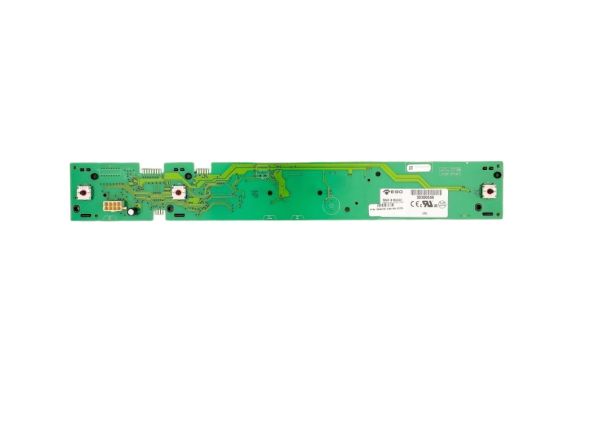
Speed Queen 205076P Washer 4-Cycle Control W/Heavy Soil 120V

Special Price $88.35 Regular Price $107.95
In stock
Available Quantity:   20
SKU
205076P
✓ This Product Replaces: 205076

Product Description

The Speed Queen 205076P Washer 4-Cycle Control with Heavy Soil 120 V provides the user a choice of four different wash cycles, one of which is the heavy soil cycle to use on laundry that is really dirty. It operates by transmitting signals to the motor in the washer, the valves and other parts to control the amount of water, the agitation, and the duration of the cycle so that it can perform optimally.
Manufacturer

https://www.hnkparts.com/media/catalog/product/2/0/205076p-65023.jpg

This Part Fits the Following Models (1)

Manufacturer Name: SPEED QUEEN
Product Number: 205076
OEM Part Number: 205076
Product Description: Repl: 205076P

Choose the best Home Appliance parts and supplies from HnKParts!

  • Same Day Shipping

  • Best Quality And Best Price

  • Wide Range of Inventory

  • Best Customer Service

Have More Questions or Need Help to Place The Order?
Reach us at (866)723-0907 or [email protected]

Write Your Own Review
You're reviewing:Speed Queen 205076P Washer 4-Cycle Control W/Heavy Soil 120V
Your Rating
Customer Questions
What maintenance is required for the Speed Queen 205076P Control W/Heavy Soil?

Regularly wipe the control panel with a soft, damp cloth to prevent buildup of detergent or grime. Avoid using chemicals. Inspect connections for corrosion and ensure the washer is unplugged before any cleaning. Proper maintenance ensures better and accurate operation.

What are common issues with the Speed Queen 205076P Control W/Heavy Soil ?

  • Controls becoming unresponsive.
  • Cycle settings not engaging properly.
  • Error codes displayed intermittently.
  • Heavy soil option not functioning correctly.
  • Electrical connection or voltage inconsistencies.

Installation Steps

Step1: Disconnect power and water supply; ensure washer is unplugged and valves closed before starting.

Step2: Remove back panel and access control housing carefully using proper tool.

Step3: Detach old control wiring harness carefully, label connectors to avoid errors.

Step4: Install new control, secure mounting screws tightly and align properly.

Step5: Reconnect wiring harness firmly, ensuring all connections are fully seated.

Step6: Reassemble panel, restore water/power, test cycle, and check for proper operation.