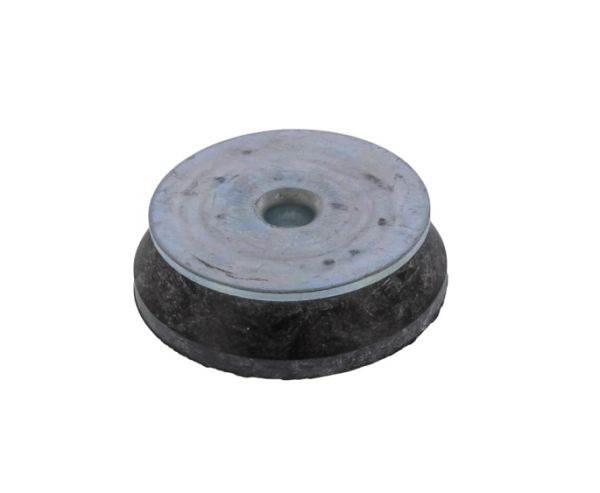
Speed Queen 204062 Washer Motor Mint & Isolator Left
$15.00
Out of stock
Available Quantity:
0
SKU
204062
Manufacturer
