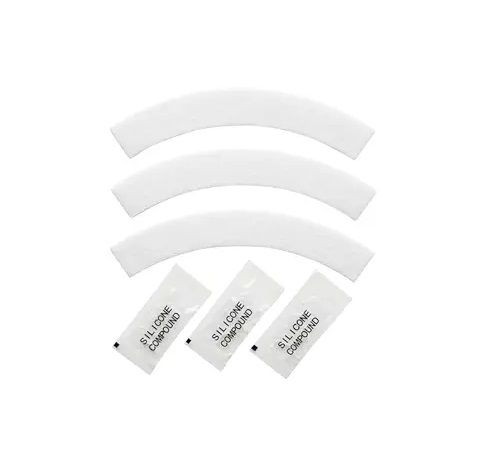
Whirlpool 203956 Washer/Dryer Damper Pad Kit 3-Pack W/Poly
Special Price
$22.91
Regular Price
$44.96
In stock
Available Quantity:
375
SKU
203956
Product Description
The Whirlpool 203956 Washer/Dryer Damper Pad Kit 3-Pack W/Poly is used to reduce friction and absorb movement between connected support surfaces in appliance assemblies during operation. It works through cushioning material that limits vibration transfer and surface contact movement while the appliance operates through wash, spin, or drying cycles. It is installed beneath the designated support or suspension contact areas inside the appliance structure using placement positions. It is used to maintain balance and internal movement, reduce operational vibration between connected sections, and support performance across laundry operation cycles.
Manufacturer

✓ This Product Replaces:
Q000017121, Q000069811, Q000069812, Q000069814, Q000069815, Q000069817, Q000165341, 08001724, 213072, 213497, 5308001724