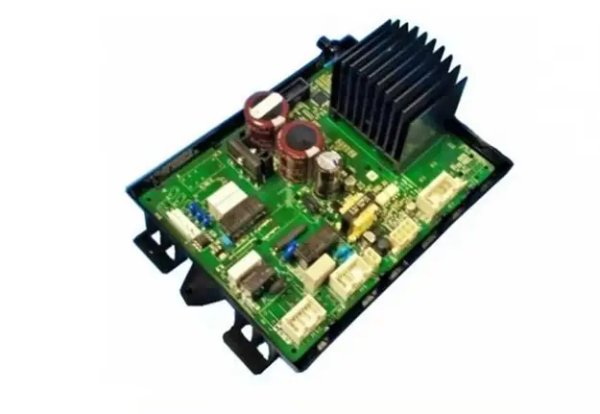
Speed Queen 203657P Washer Drive Control Board Assembly
Special Price
$367.02
Regular Price
$497.95
In stock
Available Quantity:
39
SKU
203657P
Product Description
The Speed Queen 203657P Washer Top Lid Watchdog Drive Control Pack is a part that can be used to improve functionality and checks the position of the lid and enable the washer to run only when the lid is properly shut. It operates through the use of signals to the machine’s motor, which will shut down the machine if the lid is open, avoiding possible mishaps. Some of the advantages include it is safer, the motor is not strained, and the washing is effective and efficient.
Manufacturer

✓ This Product Replaces:
203657