Please, mind that only logged in users can submit questions
Installation Steps
Step 1: Disconnect the dryer: Prior to commencing work on the appliance, it should ensure that it is unplugged.
Step 2: Take Off Control Panel Bracket: A Phillips head screwdriver should be employed to unscrew the Control Panel Bracket screws situated at the upper section of the control panel.
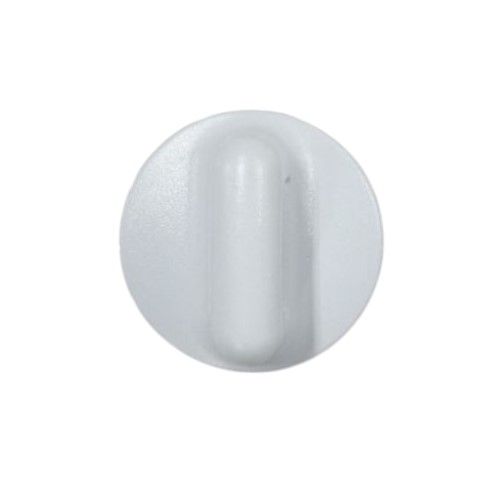
Step 3: Detach the Knob Assembly: Once the bracket is off, the knob assembly should be visible. The knob should be gripped with your fingers and pulled towards you to disengage the clips.
Step 4: Position the New Knob Assembly: The replacement knob assembly should be taken and placed where the old one was, ensuring that the clips are secured.
Step 5: Reattach the Control Panel Bracket: The Control Panel Bracket should be reinserted, securing it with the screws that were previously removed.
Step 6: Reconnect the Dryer: Lastly, the dryer should be plugged back into its power source.
Please remember, these instructions are intended as general guidance and should always be utilized alongside the manufacturer’s manual, if accessible.