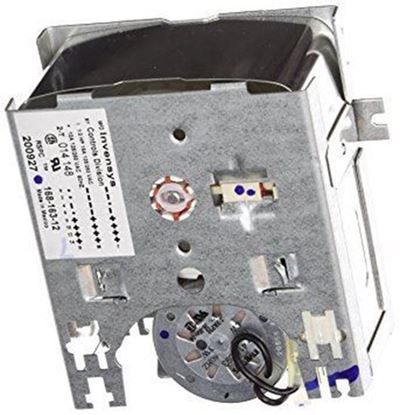
The Speed Queen 200927P Timer is the main electronic control part that coordinates the 3-cycle, 1-speed operation of the washer to time the wash, rinse, and spin in a precise manner of 115V/60HZ. The chosen wash settings are fed to this timer, which in turn provides electrical signals to energise the various components such as the water inlet valve, motor and pump in the right order. This coordination of actions will ensure a consistent performance, proper cycle times and consistent laundry outcomes each time.
Please, mind that only logged in users can submit questions
Installation Steps
Step 1: The washer should be disconnected from the power source and the water supply should be shut off. Remember, it's crucial for the water supply to be turned off prior to starting any work on the washer.
Step 2: The control panel situated at the front of the washer should be taken off. A screwdriver will be required for this task. The fasteners that hold the control panel against the washer frame should be unscrewed.
Step 3: The back cover of the washer should be detached. A Phillips head screwdriver may be necessary for this step. The placement of the screws should be remembered, as they will be needed for reassembly.
Step 4: The timer should be identified. It can be found towards the back of the washer.
Step 5: The wires should be unplugged from the timer and the timer should be extracted from the washer.
Step 6: The new timer should be positioned. The wires should be attached to the new timer and it should be fastened securely using the screws that were previously removed.
Step 7: The washer should be reconstructed by placing the back cover and control panel back in position. Both components should be fastened with the screws that were taken out during disassembly.
Step 8: The water supply should be restored and the washer should be reconnected to an electrical outlet.
Please be aware that these instructions serve as general guidance and should always be utilized alongside the manufacturer's manual, if one is available.