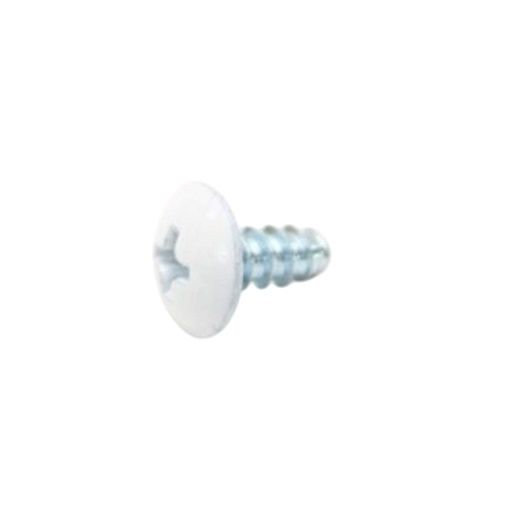
LG 1SZZJA3011B Refrigerator Customized Screw
$8.82
In stock
Available Quantity:
70
SKU
1SZZJA3011B
Product Description
SCREW-CUSTOMIZED
Manufacturer
