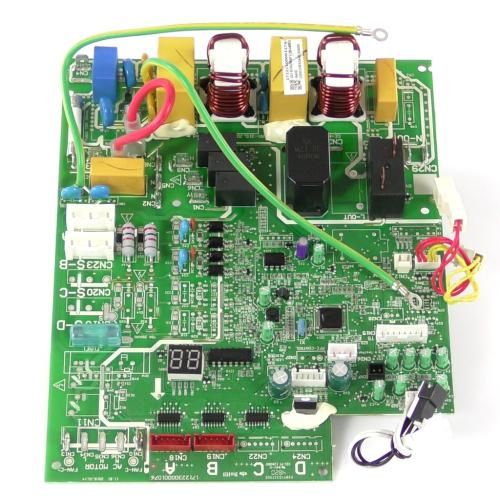
Midea 17122300003174 Main Control Board Subassembly
Special Price
$75.68
Regular Price
$80.95
Out of stock
Available Quantity:
0
SKU
17122300003174
Product Description
The Midea 17122300003174 Main Control Board Subassembly is designed to control the main functions of compatible appliances in a precise and efficient manner, it takes electrical signals and regulates temperature, cycles, and performance settings to ensure a smooth operation. designed for operational stability, energy efficiency, and optimal performance. This advanced circuitry also means that the malfunctions are minimized and consistent operation is ensured, it seamlessly integrates into the system and contributes to better functionality and dependable performance in all uses, maintaining high efficiency.
9"X8"X3"
Manufacturer