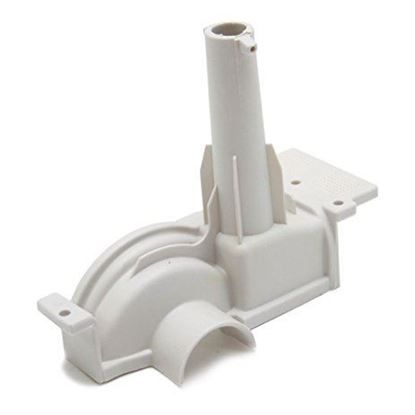
Frigidaire 154724001 Dishwasher Volute Cover
$8.86
In stock
Available Quantity:
59
SKU
154724001
Product Description
VOLUTE COVER
Manufacturer