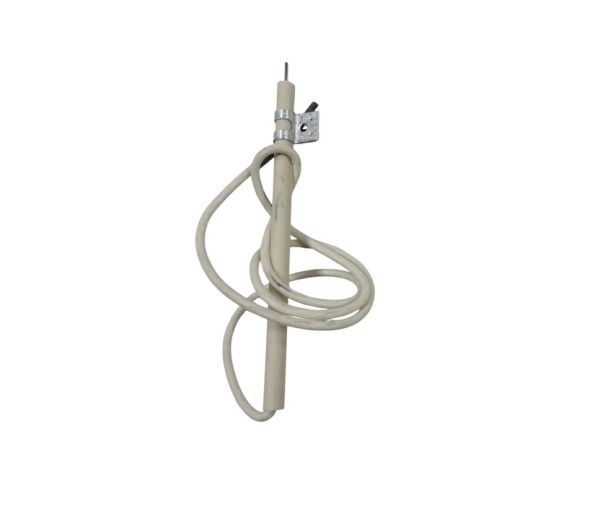
The Peerless-Premier Appliance Co. 1490 Oven Electrode provides ignition to the gas burner by striking across its tip when the ignition system is switched on. It works based on a ceramic insulator, and a metal probe that directs high-voltage pulses to produce a dependable ignition. It is attached to the ignition wire, mounted on brackets. It provides positioning of the sparks, uniform lighting of the burner, and better communication with the gas supply system.
Step 1: The gas supply to your 1490 range should be shut off. This can be accomplished by turning the gas control knob or by closing the gas at the main supply line.
Step 2: The electrical power source should be disconnected. The electrical cord should be unplugged from the wall outlet or the circuit breaker that provides power to the range should be disabled.
Step 3: The oven door should be opened and the ignitor should be identified. It will be positioned near the burner on the oven floor.
Step 4: The screws securing the ignitor should be taken out. After all screws are taken out, the ignitor should be gently lifted from the oven floor.
Step 5: The new ignitor should be placed into the hole on the oven floor. It should be fastened using the screws that were previously removed.
Step 6: The electrical power source should be reconnected to the range. The electrical cord should be inserted back into the wall outlet, or the circuit breaker should be reactivated.
Step 7: The gas supply should be restored. This can be achieved by turning the gas control knob or activating the gas at the main supply line.
Step 8: The new ignitor should be checked by igniting the burner and observing for the ignitor to click as the gas is ignited to the burner.
Your Electrode Ignitor on a 1490 Range has been successfully replaced.
Please remember, these instructions serve as general guidance and should always be utilized alongside the manufacturer's manual, if accessible.