Prior to commencing, it should be verified that all essential tools and materials are possessed. Required items include a flathead screwdriver, wire cutters, electrical tape, needle-nose pliers, and the Bosch 12004119 REPAIR-SET.
Step 2: Take Apart the Old Component.
With the flathead screwdriver, the cover should be gently unscrewed from the old component and any screws that are securing the pieces together should be detached. The screws should be carefully extracted and set aside.
Step 3: Clear the Workspace.
To guarantee that the new components fit correctly, a damp cloth should be utilized to wipe the area surrounding the old component before proceeding.
Step 4: Install The New Component.
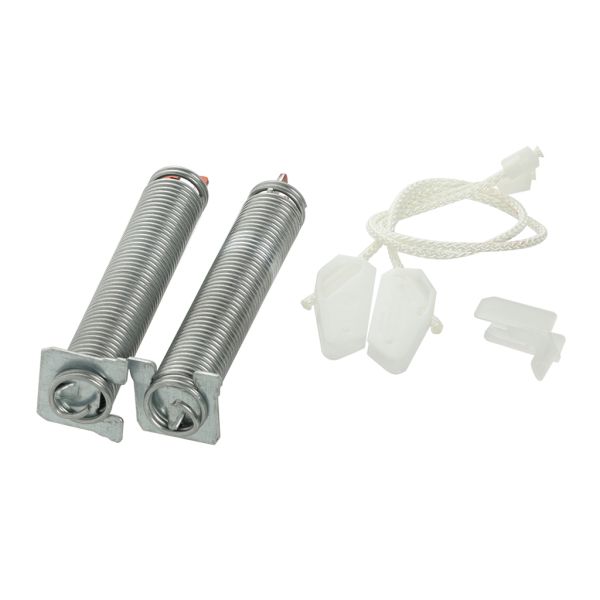
The Bosch 12004119 REPAIR-SET should be opened and the provided instructions should be referred to in order to put the component together. Adherence to the instructions should be ensured meticulously to confirm that the new component fits correctly.
After the new component is assembled, the needle-nose pliers should be employed to fasten it securely. The electrical tape and wire cutters should be utilized to attach the new component to the existing wiring.
Step 5: Reassemble.
After the new component is firmly in position, the flathead screwdriver should be taken to reattach the cover to the new component. The screws should be fastened to secure it in place.
Step 6: Verify Functionality.
The power should be activated and the new Bosch 12004119 REPAIR-SET should be assessed to confirm it operates correctly. If the assessment is affirmative, the replacement has been successfully accomplished.
Well done on completing the replacement of your Bosch 12004119 REPAIR-SET!
Please note that these instructions are intended for general guidance and should always be utilized alongside the manufacturer's manual, if available.