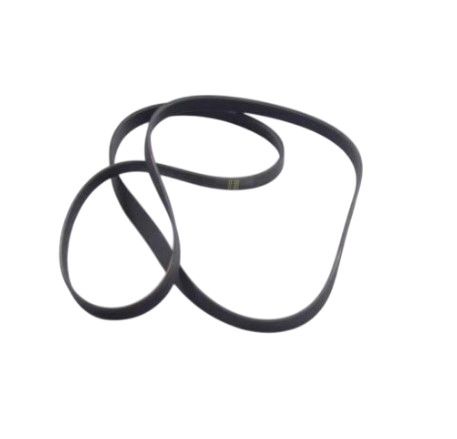
Whirlpool 12001788 Washer Front Load Drive Belt & Isolator Kit
Special Price
$15.84
Regular Price
$28.59
In stock
Available Quantity:
491
SKU
12001788
Product Description
The Whirlpool 12001788 Washer Front Load Drive Belt and Isolator Kit is a mechanical set that is used to pass on the power of the motor to the drum and also to minimize vibration on an appliance. Its function is to generate the rotation of the drum in the wash and spin cycles and reduce the noise in the operation by the use of the isolator. The drive belt will pass the motion of the motor pulley to the drum and the isolator will support the movement and absorb vibrations. The kit is installed in the lower cabinet of the washer, which connects the motor and the drum assembly.
10.25"X6.2"X1.95"
Manufacturer

✓ This Product Replaces:
12001435, 22002040, 22002313, ER12001788