
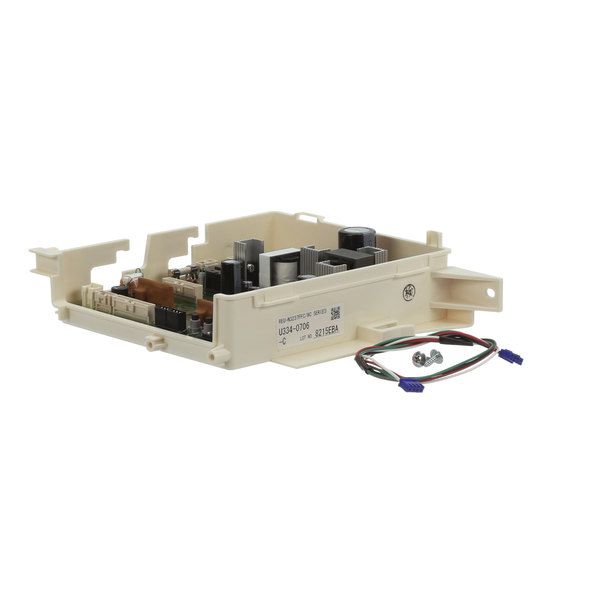
Rinnai 105000237 PC Board Assembly Commercial

Special Price $349.51 Regular Price $426.90
Out of stock
Available Quantity:   0
SKU
105000237

Product Description

The Rinnai 105000237 Power Control Board Assembly is designed to provide accurate control and functionality of water heaters that are compatible with the product. This advanced control board controls the flow of electricity, supervises the operation and protects against electrical faults for efficient heating. controls the voltage flow and regulates the functions that are necessary to conserve energy and ensure that the water temperature remains constant.
Manufacturer

Manufacturer Name: RINNAI
Product Number: 105000237
OEM Part Number: 105000237
Product Description: Pc Board Assembly-Commercial

Choose the best Home Appliance parts and supplies from HnKParts!

  • Same Day Shipping

  • Best Quality And Best Price

  • Wide Range of Inventory

  • Best Customer Service

Have More Questions or Need Help to Place The Order?
Reach us at (866)723-0907 or [email protected]

Write Your Own Review
You're reviewing:Rinnai 105000237 PC Board Assembly Commercial
Your Rating
Customer Questions
What maintenance is required for the Rinnai 105000237 PC Board Assembly?

Regularly inspect the PC board assembly for dust, debris, or signs of corrosion. Ensure all electrical connections are secure and avoid moisture exposure. Routine prevents operational errors and maintain consistent performance. Always disconnect power before handling.

What are common issues with the Rinnai 105000237 PC Board Assembly?

  • Failure to ignite the burner or inconsistent ignition.
  • Erratic temperature control or incorrect readings.
  • Intermittent operation or system shutdowns.
  • Visible burn marks or electrical component damage.

Installation Steps

Step1: Disconnect power supply and ensure unit is fully isolated.

Step2: Open control panel housing and remove screws carefully.

Step3: Disconnect old PC board wiring noting connections.

Step4: Install new board aligning connectors properly.

Step5: Secure screws and reattach panel cover.

Step6: Restore power and test operation.