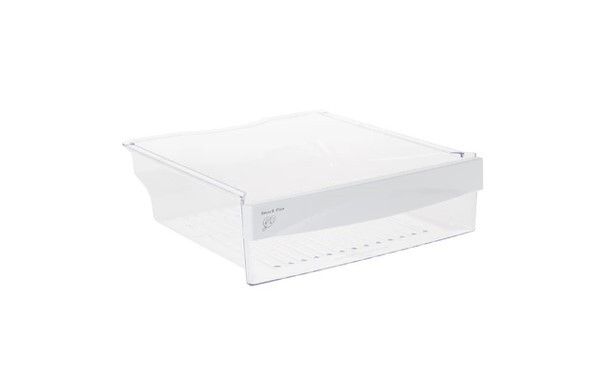
General Electric WR71X38331 Refrigerator Pan Snack Assembly
Special Price
$91.58
Regular Price
$114.99
In stock
Available Quantity:
132
SKU
WR71X38331
Product Description
The General Electric WR71X38331 Refrigerator Pan Snack Assembly serves as a storage area for snacks, delicate products or small packages of food items, and helps to organize them in a convenient and orderly manner. The assembly of this part is and it can easily be fixed on most refrigerator models ensuring that the food items are safe and well arranged.
Manufacturer

✓ This Product Replaces:
WR32X10525, WR32X26244