Whirlpool 76660 Washer Siphon Break Kit
Special Price
$63.10
Regular Price
$85.35
In stock
Available Quantity:
33
SKU
76660
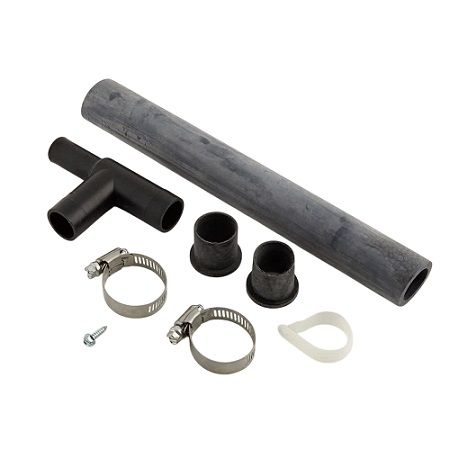
Product Description
The Whirlpool 76660 is a siphon break, which is a vital component present in many washing machines. A siphon break is a minuscule plastic device that lies within the drain pipe and inhibits wastewater from siphoning back up into the washer. During the wash cycle, water accumulates in the washer tub. The siphon break operates through creating an air gap within the drain tube. This air gap inhibits the siphoning effect, making sure the dirty wash water stays contained in the tub and doesn't pour back into the machine or overflow the drain. A fractured siphon break may lead to foul odours, mildew development, and even overflowing filthy water.
Manufacturer

✓ This Product Replaces:
562P3, 12001586, 201112, 33-4294N, LP920, LP930, 297P3, 33-1203, 33-4260, 386P3, 76614