Whirlpool Gas Stove Knobs: 7 Signs It’s Time for a Replacement
Whirlpool gas stove knobs are essential components that provide smooth flame control, safety, and convenience while cooking. However, constant use, heat exposure, and regular wear can reduce their performance, making timely replacement important for maintaining your stove’s efficiency.
Replacing Whirlpool gas stove knobs prevents cooking interruptions, improves flame adjustment, and ensures safer operation. If your knobs feel loose, cracked, or difficult to turn, discover the warning signs that indicate it’s time for a replacement and restore your stove’s functionality.
Understanding the Role of Whirlpool Gas Stove Knobs
Whirlpool gas stove knobs connect your cooking preferences with the burner system. They regulate gas flow and help adjust flame levels accurately for different cooking methods. A properly functioning knob provides smooth operation, better control, and consistent cooking performance.
A reliable Whirlpool gas stove knob should:
- Provide easy and comfortable control during daily use
- Offer precise flame adjustments for better cooking results
- Fit securely to prevent slipping or loose operation
- Withstand heat, moisture, and regular kitchen exposure
- Maintain clear settings for quick burner identification
Damaged or worn-out knobs can affect convenience and control while cooking. Replacing them helps restore proper functionality, improve safety, and maintain a more efficient kitchen setup.
Regular inspection of Whirlpool stove parts prevents breakdowns such as gas leaks, faulty burners, ignition failures, uneven heating, electrical issues, and sudden stove malfunctions.
7 Signs It’s Time to Replace Your Whirlpool Gas Stove Knobs
Whirlpool gas stove knobs can show issues that affect operation and flame control. Spotting these signs early helps maintain performance and convenience.
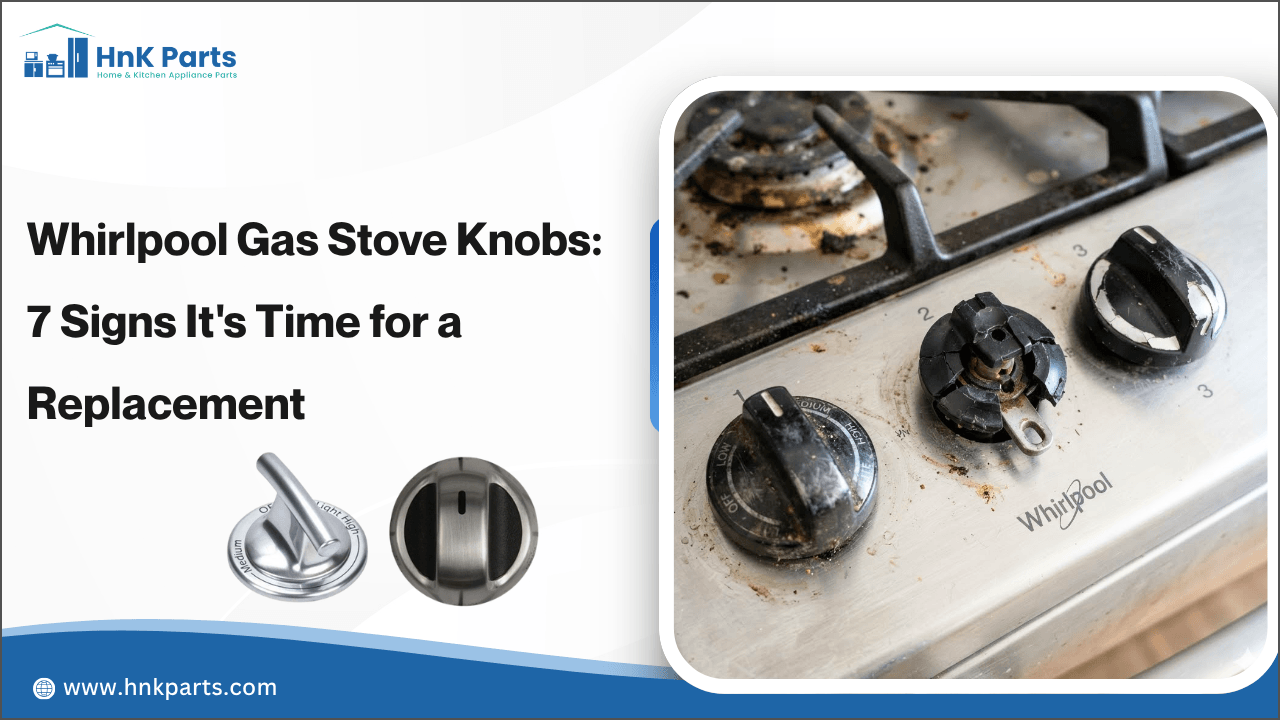
1. Cracks on the Mounting Hub: Small hairline cracks inside the mounting hub can weaken the knob’s grip on the valve stem, making precise burner adjustments difficult and frustrating.
2. Free Spinning Without Clicking: If the knob spins loosely without engaging properly, the internal splines may be worn out, preventing accurate flame control and proper burner operation.
3. Faded or Missing Markings: Worn-off “Lite,” “Hi,” “Med,” or “Lo” labels can make temperature selection confusing and affect your cooking results.
4. Melting or Warping Damage: Exposure to excessive heat can cause the plastic knob to melt, bend, or lose its original shape and strength.
5. Missing Tension Clips: A missing or damaged spring clip can cause the knob to slip off easily, reducing control and convenience during cooking.
6. Sticky or Stiff Movement: Grease buildup, dirt, or internal damage can make the knob harder to press, turn, and operate smoothly.
7. Loose or Wobbly Fit: A knob that feels unstable on the control shaft may affect gas flow control and create a potential safety concern.
Watch to find out about stove & oven replacement parts: the ultimate guide to upgrading your kitchen to keep your appliances operating efficiently.
How to Replace Whirlpool Gas Stove Knobs
Replacing Whirlpool gas stove knobs is a simple task that restores burner control and improves stove usability. The process usually requires no special tools and can be completed in a few easy steps.
Step 1: Turn Off the Stove and Let It Cool
Before replacing the knobs, make sure all burners are switched off and the stove surface is completely cool to prevent accidental burns or damage.
Step 2: Remove the Old Knob Carefully
Grip the existing knob firmly and pull it straight outward from the control shaft. Avoid twisting forcefully, as this may damage the knob connection or valve stem.
Step 3: Clean the Control Area
Remove grease, food residue, and dust around the knob area before installing the replacement. A clean surface helps the new knob fit securely.
Step 4: Check the New Knob Alignment
Match the replacement Whirlpool gas stove knob with the control shaft and ensure the fitting aligns correctly before pressing it into place.
Step 5: Install the Replacement Knob
Push the new knob firmly onto the shaft until it sits securely. The knob should turn smoothly without wobbling or slipping.
Step 6: Test the Burner Control
Turn the knob gently to check whether it adjusts the flame properly. If the knob feels loose or does not control the burner, confirm that you have the correct replacement part.
Common Mistakes to Avoid
Many homeowners accidentally shorten knob life by:
- Using bleach-based cleaners
- Twisting knobs aggressively
- Ignoring loose fittings
- Continuing to use cracked knobs
- Purchasing incorrect replacement models
- Exposing knobs to prolonged high heat
Avoiding these mistakes helps keep your stove operating safely and efficiently.
Learn how to clean a glass stove top with this ultimate guide featuring helpful tips and best practices for removing stains.
How to Choose the Right Whirlpool Gas Stove Replacement Knobs
Choose Whirlpool gas stove replacement knobs that ensure a proper fit, smooth operation, and accurate flame control. Consider these factors before buying:
- Check the Knob Compatibility: Select a knob that matches your Whirlpool stove model and fits correctly with the existing control system for smooth operation.
- Confirm the Connection Type: Make sure the replacement knob matches the valve stem design and stays securely attached during regular use.
- Choose a Comfortable Design: Look for knobs that offer a good grip, clear markings, and easy handling for daily cooking adjustments.
- Consider Material Quality: Select knobs made from durable, heat-resistant materials that can handle regular kitchen conditions.
- Match the Stove Appearance: Choose a replacement knob that complements your appliance design while restoring its overall look and functionality.
Explore the top 7 benefits of Premier gas stoves for faster, smarter cooking and enhanced kitchen performance.
Summary: Improve Whirlpool Gas Stove Performance with Quality Replacement Knobs
Whirlpool gas stove knobs play an important role in everyday cooking by providing direct control over burner settings. Replacing worn or damaged knobs helps restore smooth handling, improve cooking accuracy, and maintain a more reliable stove experience. Selecting the right replacement part supports better functionality and long-term appliance care.
Key Takeaways
- Choose knobs that provide a secure grip for easier temperature adjustments.
- Check for hidden fitting issues that can affect knob movement and burner response.
- Replace worn knobs before they impact cooking precision or daily convenience.
- Select durable materials that can handle regular heat and kitchen conditions.
- Ensure replacement knobs align correctly with the control shaft for proper operation.
- Maintain clean knob surfaces to support smoother handling and better appearance.
- Monitor any continued burner control problems and inspect the stove system when needed.
Wondering where to get quality stove parts at cost-saving prices? Shop premium home and kitchen repair parts at HnK Parts. Get burner knobs, ignitions, gas valves, control boards, burners, and more from trusted brands like Midea, Blomberg, Majestic, Vermont, and US Stove Company. Enjoy fast doorstep delivery and consistent quality all in one place.
References:
https://laappliancefix.org/whirlpool-stove-repair-los-angeles/
https://www.classaction.org/samsung-range-knobs-turn-on-too-easily-lawsuit
FAQs
How do I know if my Whirlpool gas stove knob needs replacing?
Common signs include cracks, loose fittings, melted plastic, worn markings, difficulty turning, or a knob that spins without adjusting the flame.
Can I replace Whirlpool gas stove knobs myself?
Yes. In most cases, replacement involves removing the old knob and installing the correct replacement onto the valve stem.
Are all Whirlpool gas stove knobs interchangeable?
No. Whirlpool uses different knob designs based on the stove model, burner position, and valve shaft type. Always confirm compatibility before purchasing a replacement.
How often should I inspect my stove knobs?
Inspect your knobs every few months for cracks, looseness, discoloration, and smooth operation. Regular cleaning also helps prevent grease buildup and maintains better performance.
-
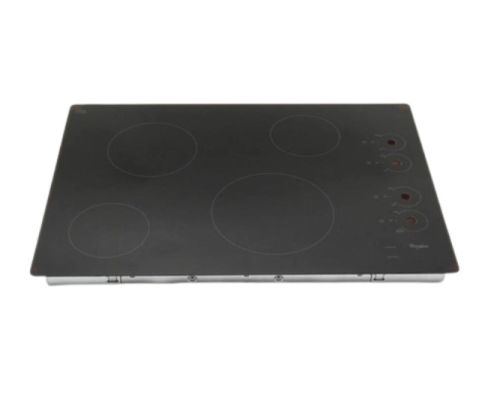 Whirlpool W10365154 Cooktop Glass Main TopSpecial Price $460.44 Regular Price $513.95
 -
 Whirlpool W10472020 Range Glass Main TopSpecial Price $238.50 Regular Price $274.95
 -
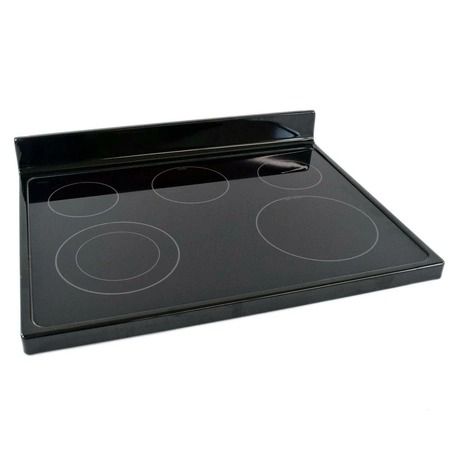 Whirlpool W10691696 Range CooktopSpecial Price $212.52 Regular Price $235.95
 -
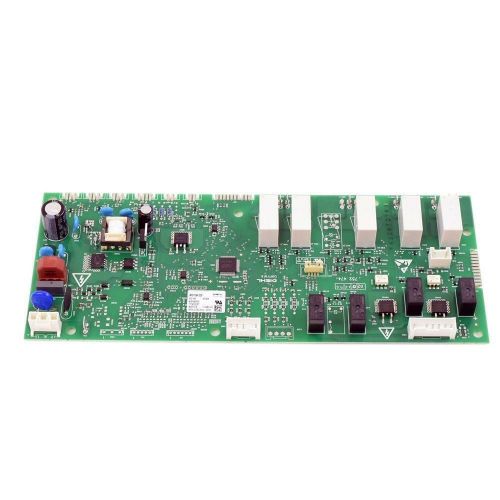 Bosch 11020741 Range Oven Programmed Control ModuleSpecial Price $228.15 Regular Price $287.99
 -
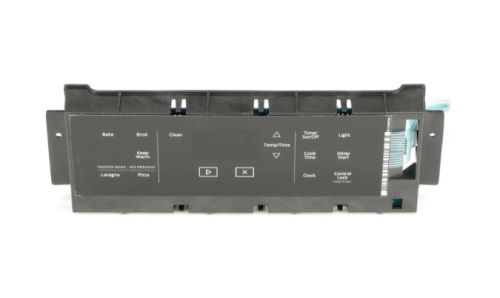 Whirlpool W11159621 Range Oven Control Board W/TouchpadSpecial Price $265.80 Regular Price $285.95