
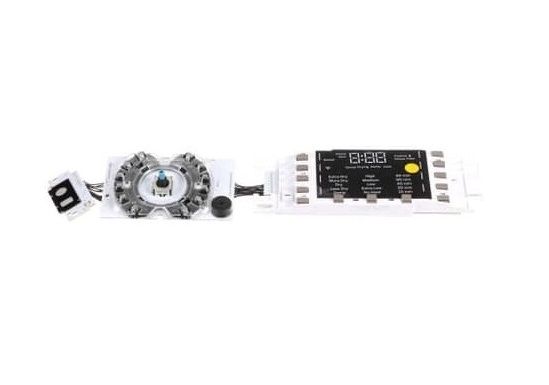
General Electric WE22X37338 Dryer User Interface Board FL DR

Special Price $122.28 Regular Price $139.95
In stock
Available Quantity:   88
SKU
WE22X37338

Product Description

The General Electric WE22X37338 Dryer User Interface Board FL DR regulates the functions of the appliance and provides proper performance and cycle selection. It is installed safely in the front control panel of compatible GE dryers and connects user inputs with the internal systems of the appliance to operate smoothly. It also allows optimum drying performance by ensuring there is a responsive and sturdy interface that also brings the dryer back to full functionality.
Manufacturer

https://www.hnkparts.com/media/catalog/product/w/e/we22x37338-11691.jpg
MANUFACTURER NAME: GENERAL ELECTRIC
PRODUCT NUMBER: WE22X37338
OEM PART NUMBER: WE22X37338
PRODUCT DESCRIPTION: USER INTERFACE BOARD 85

CHOOSE THE BEST HOME APPLIANCE PARTS AND SUPPLIES FROM HNKPARTS!

  • SAME DAY SHIPPING

  • BEST QUALITY AND BEST PRICE

  • WIDE RANGE OF INVENTORY

  • BEST CUSTOMER SERVICE

HAVE MORE QUESTIONS OR NEED HELP TO PLACE THE ORDER?
REACH US AT (866)723-0907 OR [email protected]

Write Your Own Review
You're reviewing:General Electric WE22X37338 Dryer User Interface Board FL DR
Your Rating
Customer Questions
What maintenance is required for the General Electric WE22X37338 User Interface Board?

Keep the board area clean and dry to ensure buttons respond correctly. Verify that all wiring connections are fully seated. Operate different settings occasionally to confirm accurate response. Avoid pressing multiple buttons simultaneously to prevent input errors.

What are common issues with the General Electric WE22X37338 User Interface Board?

  • Controls not registering selections.
  • Dryer not starting from panel input.
  • Display showing incorrect cycles.
  • Timed functions failing.

Installation Steps

Step1: Unplug the dryer to prevent electrical shock.

Step2: Remove the control panel screws and tilt the panel forward.

Step3: Disconnect all wire harnesses from the old interface board.

Step4: Remove the faulty board from its mounting bracket.

Step5: Install the new board and reconnect all wiring securely.

Step6: Reassemble the panel, restore power, and test dryer controls.