
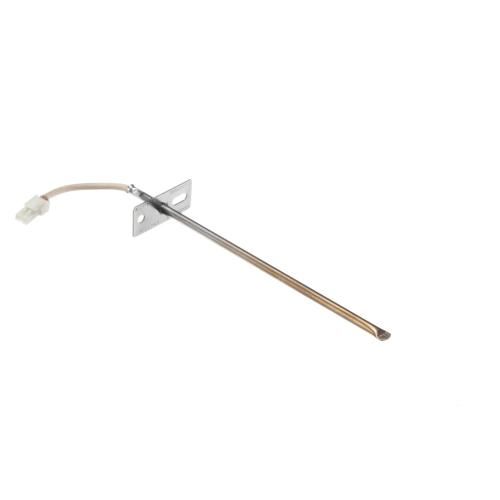
General Electric WB23T10020 Range Sensor Assembly

Special Price $24.69 Regular Price $33.95
In stock
Available Quantity:   1
SKU
WB23T10020

Product Description

The General Electric WB23T10020 Range Sensor Assembly operate through detecting the temperature of the heating element, and then signals to adjust the power of the burner. This process assists in regulating heat while cooking to avoid overheating or underheating. The assembly also enhances the process of cooking as it allows for better regulation of temperature.
Stove & Oven Parts, Flame Sensors,
8"X7.5"X0.8"
Manufacturer
https://www.hnkparts.com/media/catalog/product/w/b/wb23t10020-general-electric-hnkparts-1.jpg

This Part Fits the Following Models (57)

GE ZET3038BH1BB Range GE ZET3038BH2BB Range GE ZET3038BH3BB Range GE ZET3038SH1SS Range GE ZET3038SH2SS Range GE ZET3038SH3SS Range GE ZET3038WH1WW Range GE ZET3038WH2WW Range GE ZET3038WH3WW Range GE JT980BH1BB Electric Range GE JT980BH2BB Electric Range GE JT980BH3BB Electric Range GE JT980CH1CC Electric Range GE JT980SH1SS Electric Range GE JT980SK1SS Electric Range
Showing 1-15 of 57
Write Your Own Review
You're reviewing:General Electric WB23T10020 Range Sensor Assembly
Your Rating
Customer Questions
What maintenance is required for the General Electric WB23T10020 Sensor Assembly?

Regularly inspect the range sensor assembly for debris or grease buildup. Clean gently with a soft cloth to ensure accurate readings. Check connections for secure attachment, and avoid using harsh chemicals that may damage the sensor components.

What are common issues with the General Electric WB23T10020 Sensor Assembly?

  • Inaccurate temperature readings.
  • Sensor fails to detect heating elements.
  • Loose or corroded electrical connections.
  • Intermittent or inconsistent signals to the range control.

Installation Steps

Step1: unplug the range to cool completely before starting.

Step2: Disconnect power at breaker to prevent electric shock.

Step3: Remove rear range panel to access sensor area.

Step4: Locate old sensor assembly inside oven cavity section.

Step5: Carefully disconnect wiring harness from existing sensor.

Step6: Install new sensor and secure mounting screws.

Step7: Reconnect wiring firmly ensuring proper alignment.

Step8: Reassemble panel and restore power, then test operation.
