The store will not work correctly in the case when cookies are disabled.
We collect user information to provide a better user experience and protect the security of our website. By continuing to use our website, you acknowledge the use of cookies.
Observance of Labor day 09/07, Monday we are closed [No shippings and deliveries ], Orders received after 3.00pm CST on 09/04/2026 will be shipping out on Tuesday 09/08/2026.
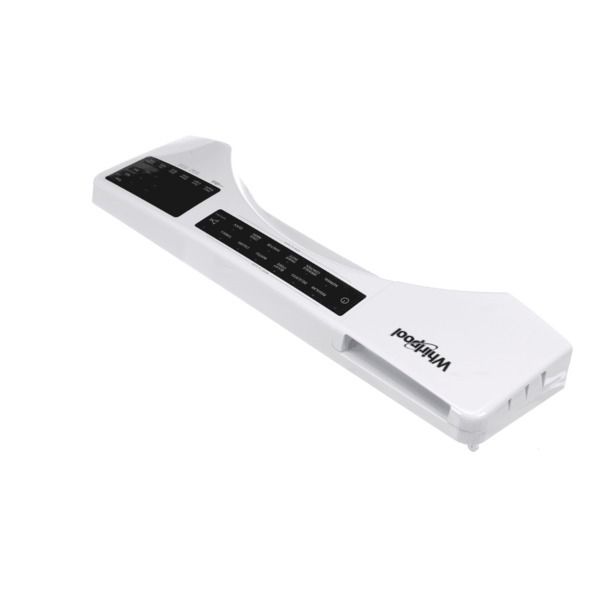
The Whirlpool W11591400 Washer Console Assembly is used to interface with the internal circuits of the machine for controlling cycles, settings, and starting or stopping operations. When a user chooses a cycle, the console sends electrical signals to the motor and other components of the machine to perform the required washing process. This console is used to control the user interface and it gives feedback and interacts with the user in an efficient manner.
What maintenance is required for the Whirlpool W11591400 Console Assembly?
Wipe the console surface clean to remove residue that may affect inputs. Ensure buttons or controls respond smoothly. Verify secure mounting and alignment. Test multiple selections to confirm accurate operation and consistent response across all available settings.
What are common issues with the Whirlpool W11591400 Console Assembly?
Buttons not registering inputs.
Display not updating selections.
Delayed response to commands.
Incorrect settings being activated.
Installation Steps
Step1: Unplug the washer from the electrical outlet.
Step2: Remove screws securing the existing control console.
Step3: Carefully lift the console to access internal wiring.
Step4: Disconnect all connectors from the old console assembly.
Step5: Install the new console and reconnect wiring securely.
Step6: Reassemble and restore power to confirm proper functionality.