
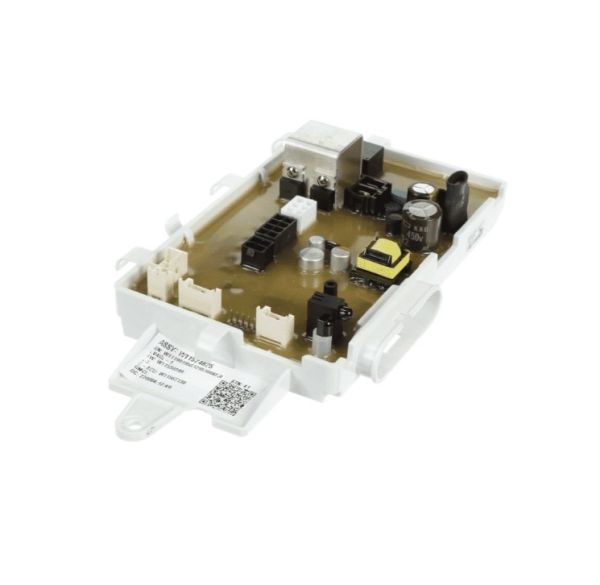
Whirlpool W11557935 Washer Electronic Control Board

Special Price $210.08 Regular Price $217.95
In stock
Available Quantity:   52
SKU
W11557935

Product Description

The Whirlpool W11557935 Washer Electronic Control Board work as a receiver of signals from different sensors and control the cycles of the washer. It can control the water level, temperature, and speed of motor to ensure the washing performance is accurate. This control board also makes the washer to respond to the settings set by the user hence enhancing the efficiency. It also enhances energy utilization to decrease the use of electricity and enhances the machine’s longevity and performance for long-term usage.
Manufacturer

Manufacturer Name: WHIRLPOOL
Product Number: W11557935
OEM Part Number: W11557935
Product Description: Cntrl-Elec+Core

Choose the best Home Appliance parts and supplies from HnKParts!

  • Same Day Shipping

  • Best Quality And Best Price

  • Wide Range of Inventory

  • Best Customer Service

Have More Questions or Need Help to Place The Order?
Reach us at (866)723-0907 or [email protected]

Write Your Own Review
You're reviewing:Whirlpool W11557935 Washer Electronic Control Board
Your Rating
Customer Questions
What maintenance is required for the Whirlpool W11557935 Control Board ?

Regular maintenance involves keeping the washer interior dry and ensuring no moisture reaches the control board. Inspect wiring connections periodically for looseness, corrosion, or damage, and secure them properly. Avoid power surges by using a surge protector, as electrical spikes can harm the board.

What are common issues with the Whirlpool W11557935 Control Board?

  • Washer fails to start or respond to inputs.
  • Erratic cycle selection or program errors.
  • Intermittent power loss or system resets.
  • Buttons or display not functioning correctly.
  • Inconsistent communication with other components.

Installation Steps

Step1: Unplug washer from power and shut off water supply to prevent shock or leaks.

Step2: Remove top or rear panel screws to access the electronic control board safely.

Step3: wiring connections for accurate reassembly later.

Step4: Carefully disconnect all wire harnesses from the old control board.

Step5: Install the new board, reconnect harnesses, and secure it in place.

Step6: Reassemble panels and restore power to test operation.