
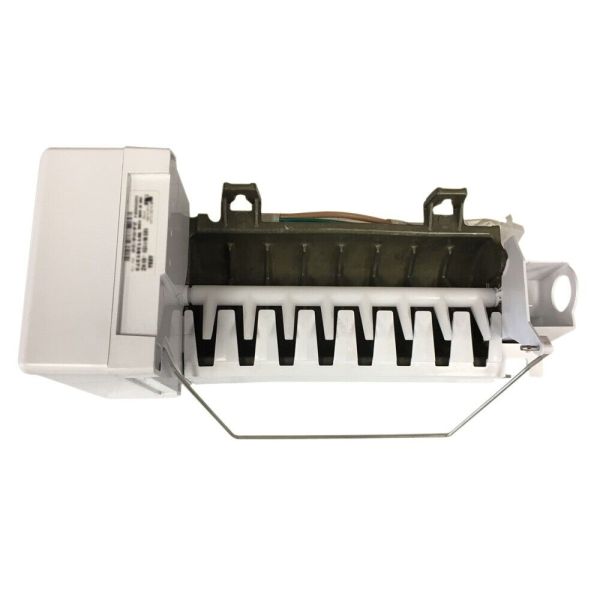
Whirlpool W11542654 Refrigerator Ice Maker Assembly

Special Price $85.88 Regular Price $151.21
In stock
Available Quantity:   114
SKU
W11542654

Product Description

The Whirlpool W11542654 Ice Maker Assembly is used for the constant production of ice in the refrigerator. Work the release of ice cubes once the temperature of the freezer is low enough through the help of a water inlet valve and a motor that is used to fill the molds and eject the ice and also has a fan and heating element to assist the ice to drop into the storage bin and enhances the convenience does not require use ice trays and the energy used in making them.
Manufacturer

https://www.hnkparts.com/media/catalog/product/w/1/w11542654_whirlpool_hnkparts.png
Manufacturer Name: WHIRLPOOL
Product Number: W11542654
OEM Part Number: W11542654
Product Description: Icemaker

Choose the best Home Appliance parts and supplies from HnKParts!

  • Same Day Shipping

  • Best Quality And Best Price

  • Wide Range of Inventory

  • Best Customer Service

Have More Questions or Need Help to Place The Order?
Reach us at (866)723-0907 or [email protected]

Write Your Own Review
You're reviewing:Whirlpool W11542654 Refrigerator Ice Maker Assembly
Your Rating
Customer Questions
What maintenance is required for the Whirlpool W11542654 Ice Maker Assembly?

Clean the ice maker and tray to remove mineral buildup and debris. Ensure water lines are connected securely. Test ice ejection and tray movement regularly. Monitor ice production to maintain consistent output and accurate operation.

What are common issues with the Whirlpool W11542654 Ice Maker Assembly?

  • Ice cubes sticking together.
  • Tray not ejecting ice fully.
  • Ice production inconsistent.
  • Water filling irregularly.

Installation Steps

Step1: Turn off the refrigerator power and water supply.

Step2: Remove the old ice maker by unscrewing the brackets and disconnecting wiring.

Step3: Position the new assembly in the same location.

Step4: Connect the wiring and water line securely.

Step5: Mount with the screws provided.

Step6: Restore power and water, then run a test cycle.